
Autodesk Inventor is a CAD (Computer-aided design) software that is used to design, create, test and assemble parts and pieces for any purpose. Inventor is a professional level CAD software and many businesses use it for there design needs. You can export Inventor projects out to many things such as 3D printers, CNC routers, and CNC mills. Inventor was created in 1999 over 2 decades ago and many people still use it today because of how intuitive and effective it is.
Widget 3 Step by Step

|
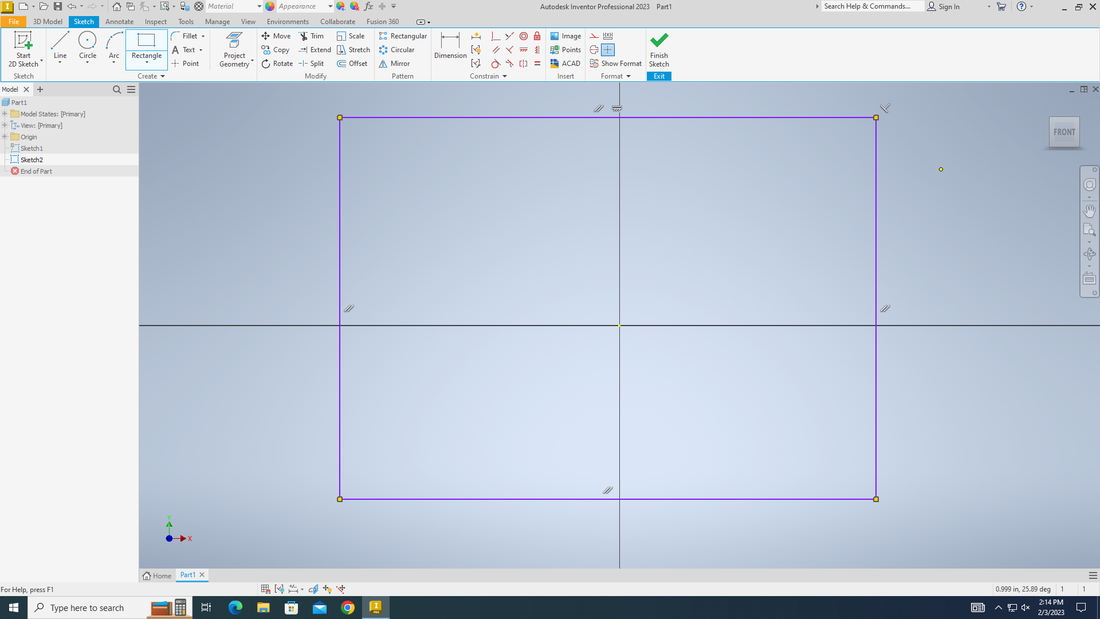
I first started my widget by clicking start 2D sketch in the top left corner, than selecting the XY face (shown in picture).
|
|
Secondly, I used the Rectangle tool to get the rough shape of one face of my cube.
|
|
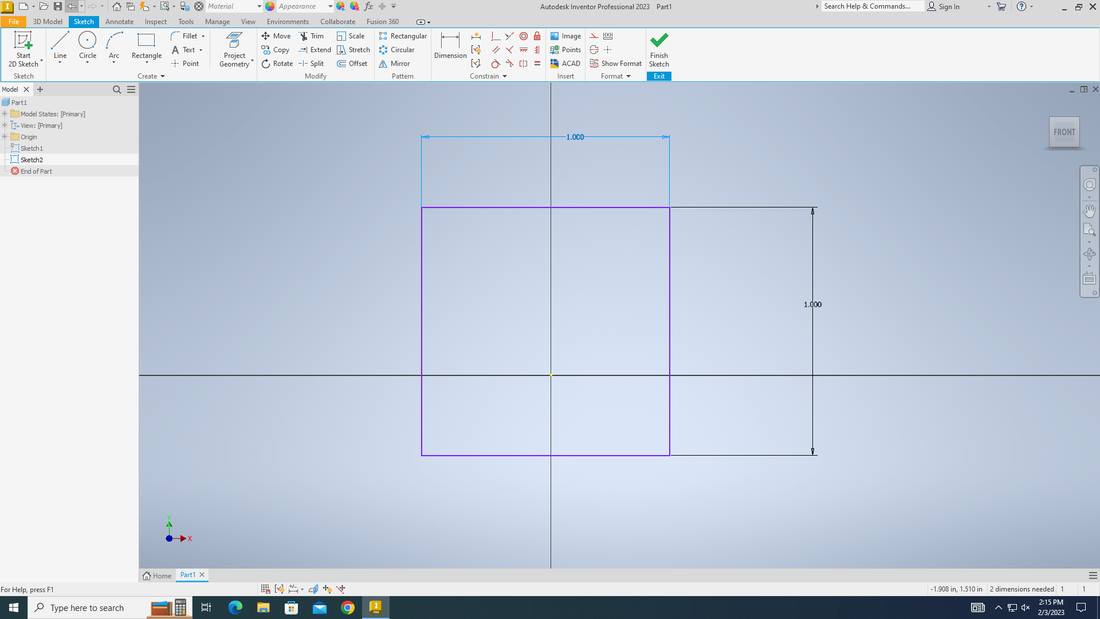
Next, I used the dimension tool to dimensions the sides so that it created a square that was 1 inch by 1 inch.
|
|
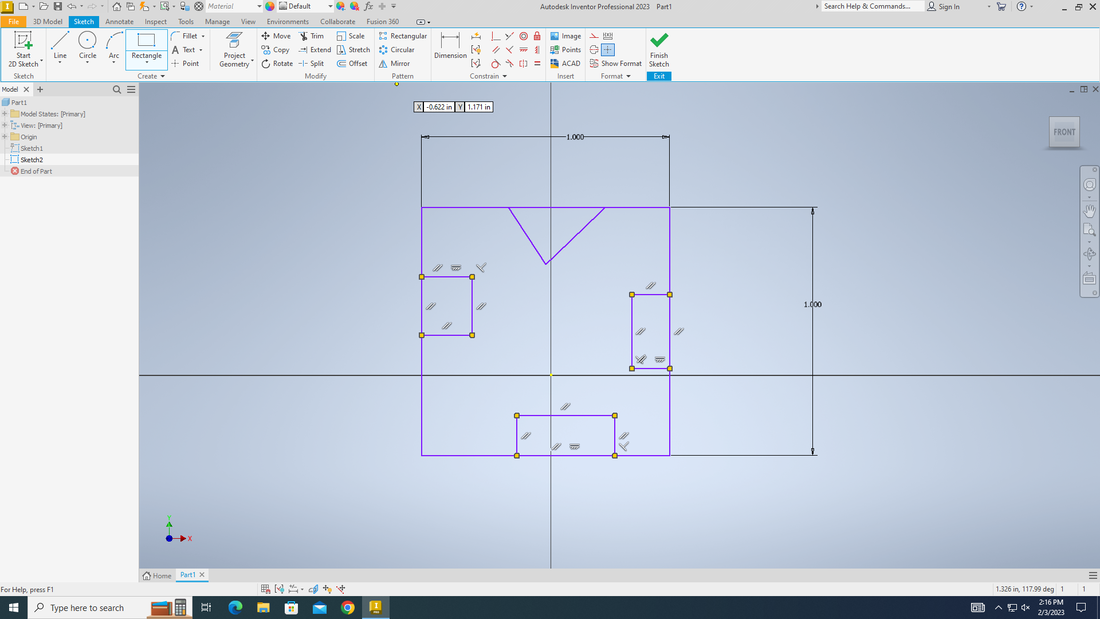
Moving on, I added the rough cutouts that will run the length of the cube, a triangle at the top and one square on each of the other sides.
|
|
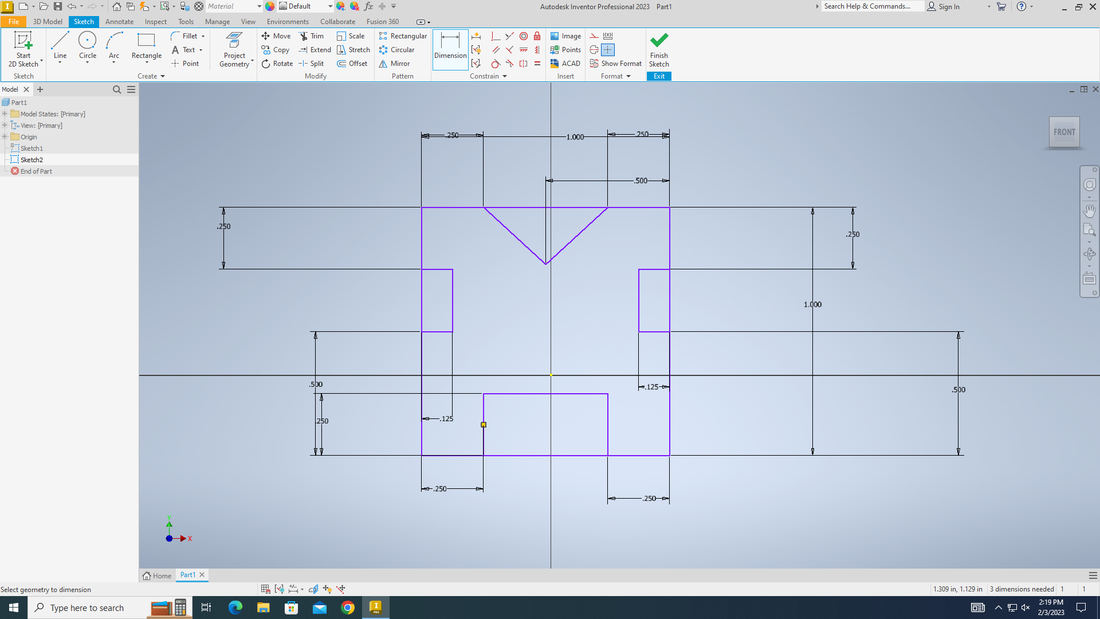
I then took those rough shapes and added in the dimensions so that they would be in the proper spot on the cube and be the proper size. This is when the 2D sketch of the face was done, so to finish it and move on to the 3D part I selected finish sketch (The green check in the top left of the tool bar).
|
|
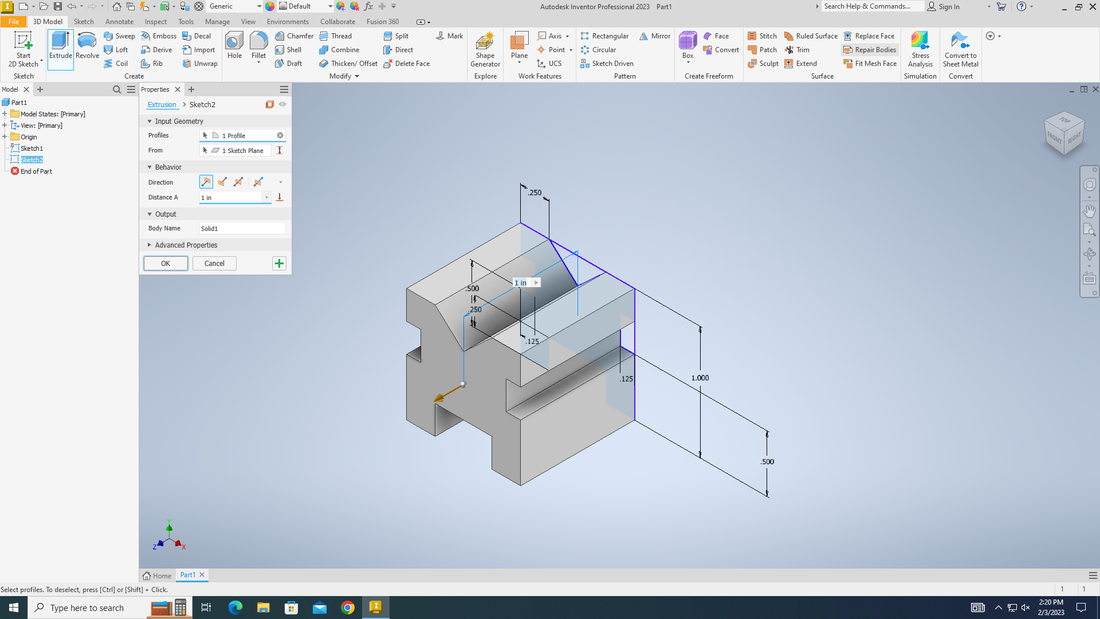
To get the widget to the proper thickness I selected extrude, (Right to the right of start 2D sketch). I selected the middle of the cube with my cursor to select the piece I wanted to extrude and made sure not to select any of the pieces that were not supposed to be there. Then I imputed my desired thickness of 1 inch and selected ok.
|

|
This is the final Widget that I ended up with.
|
My 6 Widgets


|
|
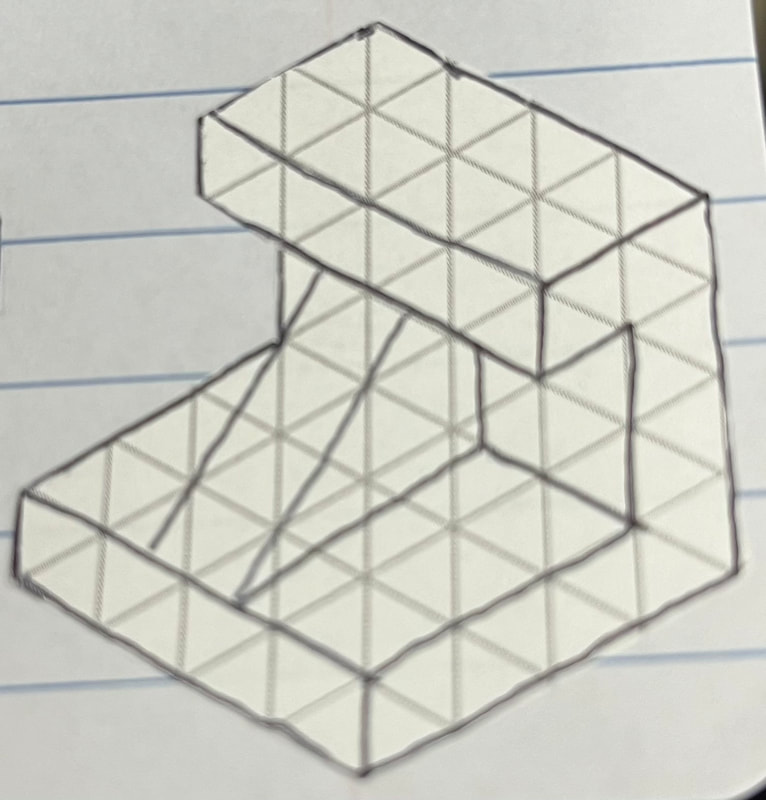
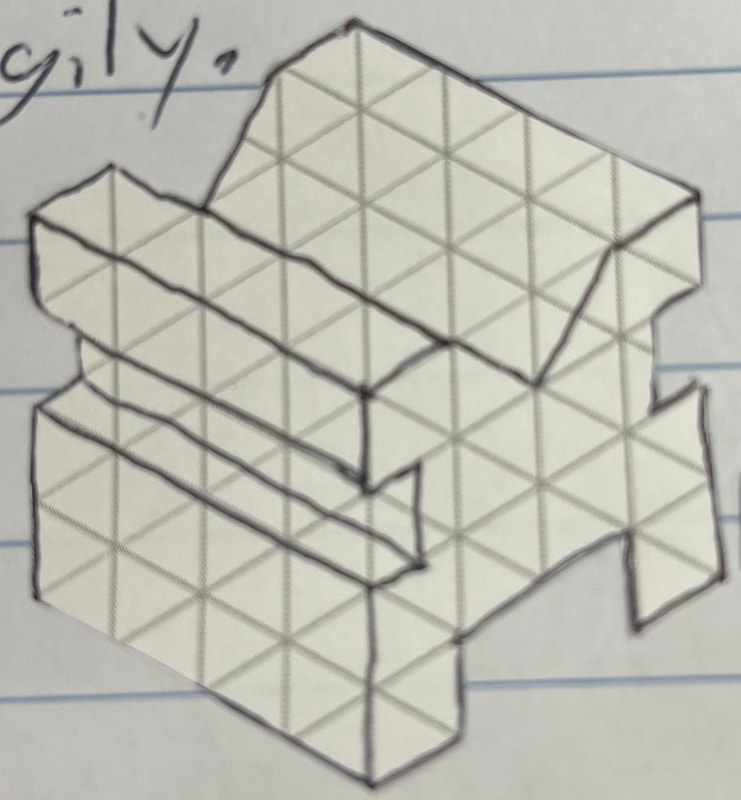
These are two of my sketches of the widgets that I put into my designer notebook.
Makerbot
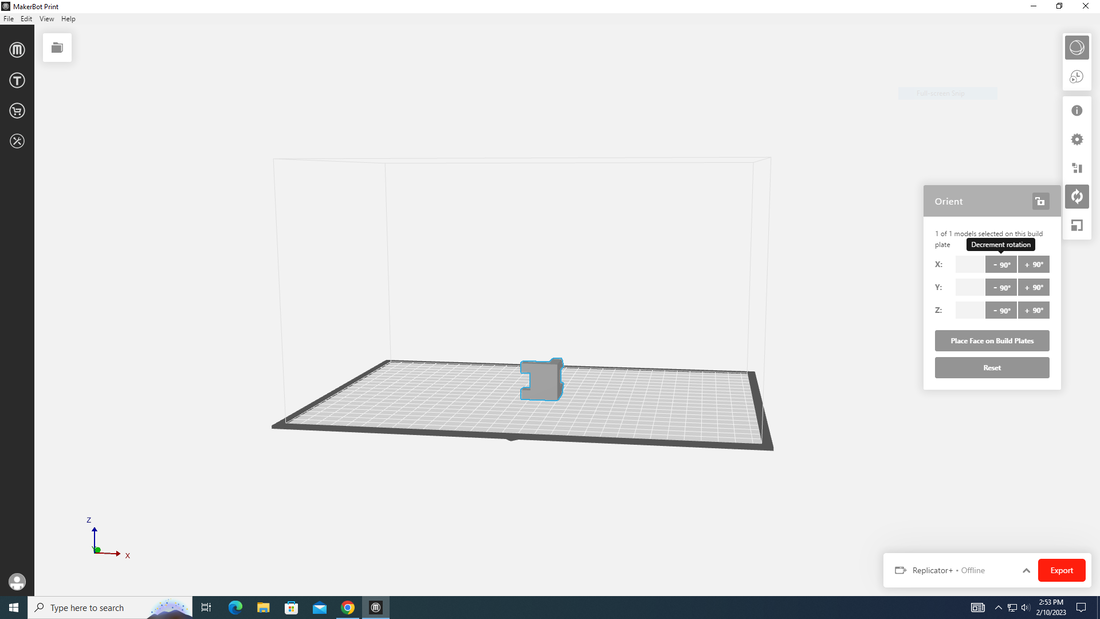
Rotating the widget
|
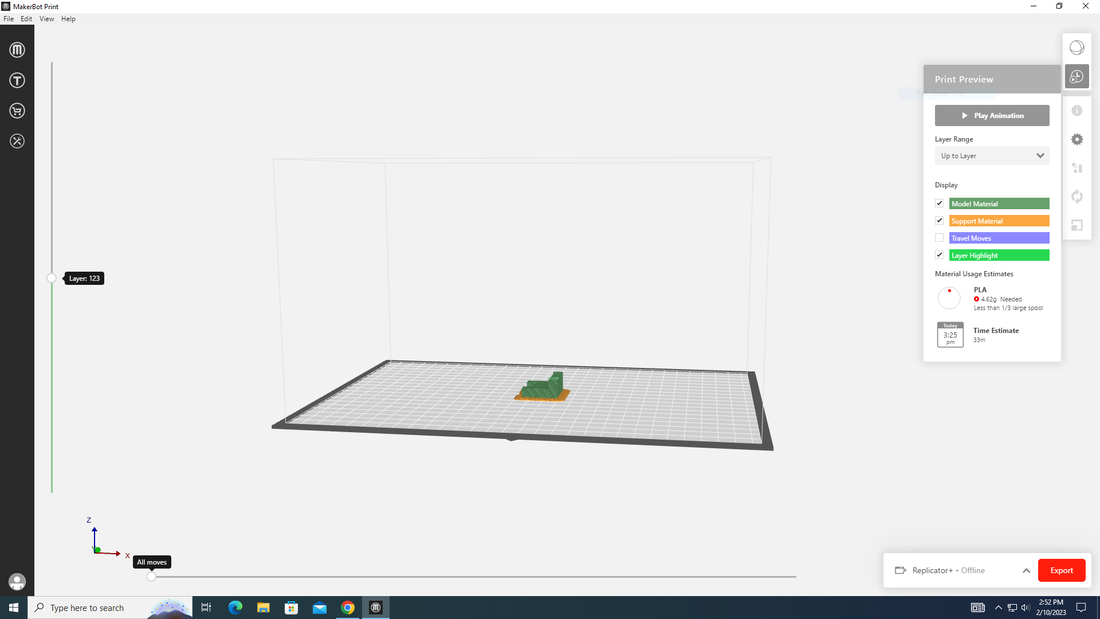
Print preview screen
|

Preview of widget
|
3D Printing
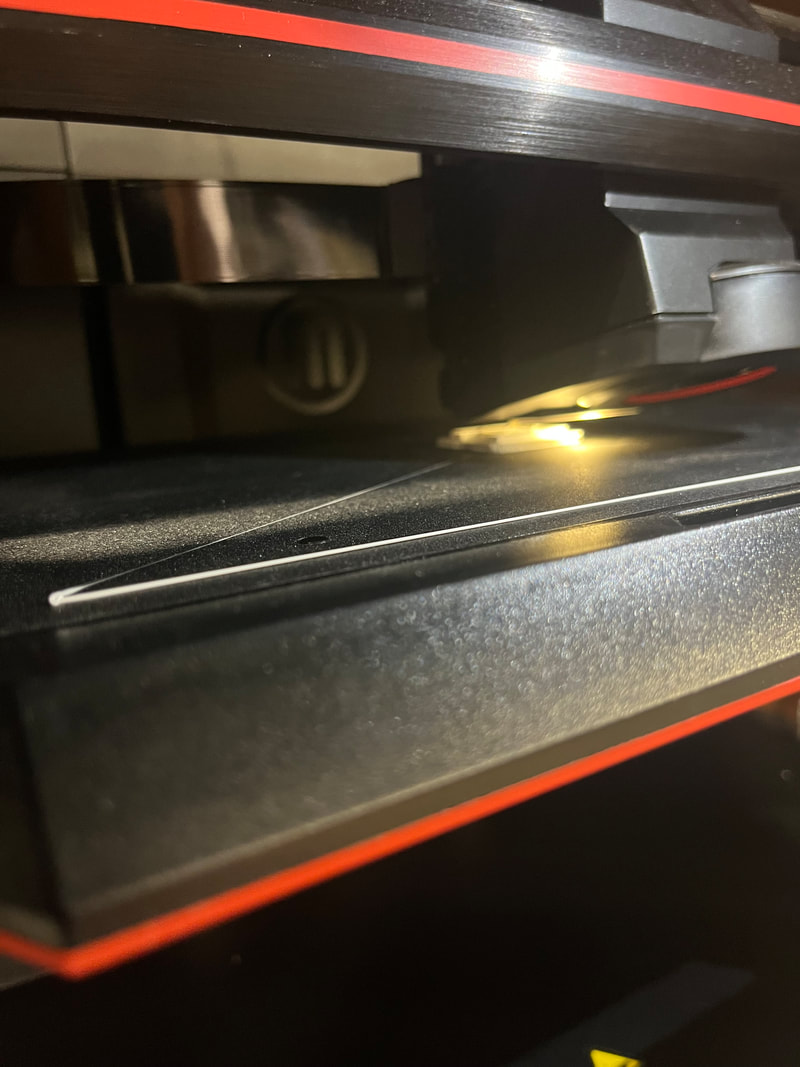
1/3 done printing
|
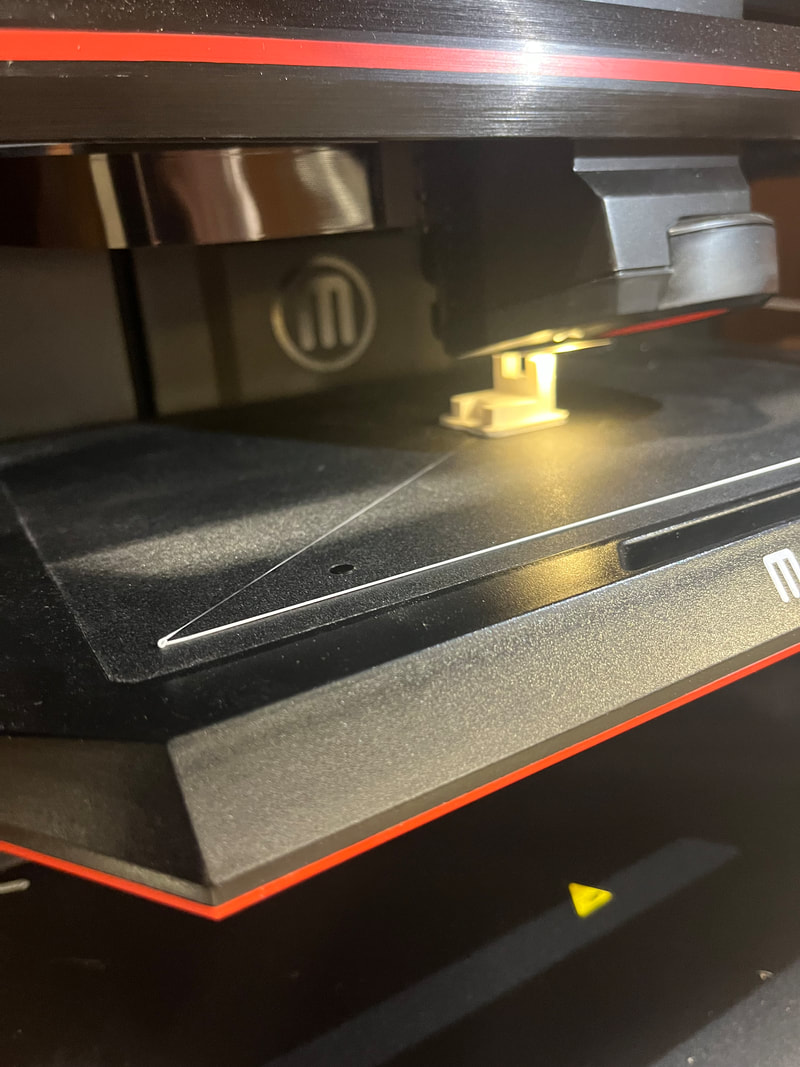
2/3 done printing
|
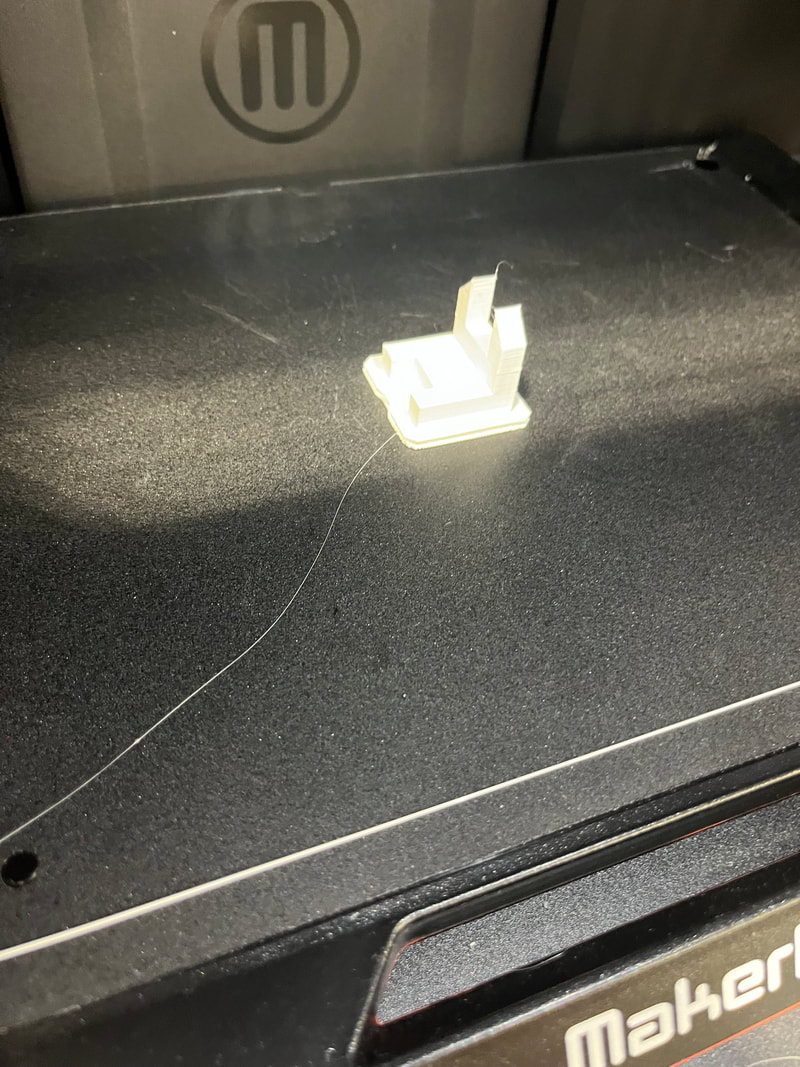
Done printing on print bed
|
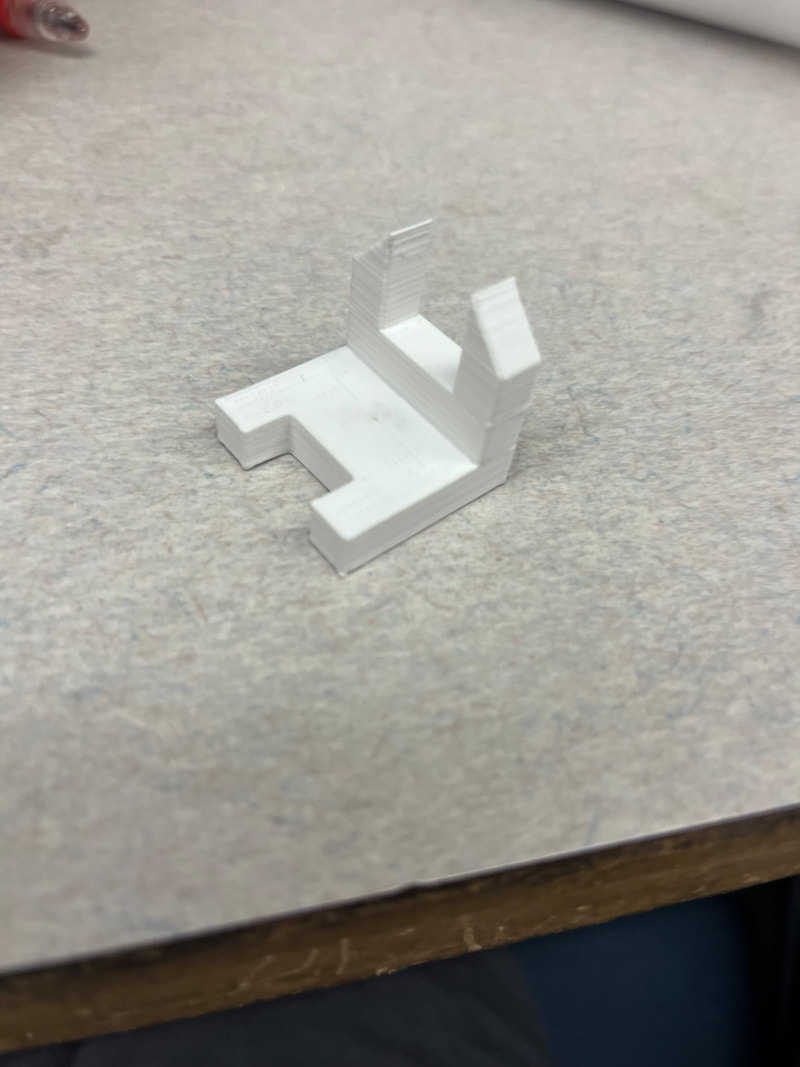
done printed and off bed
|
Conclusion
In this unit I learned many things from Inventor to MakerBot. I learned how to create and design a part file using Inventors software. Learning how to design I learned how to use all of the tools necessary in inventor to create a 3d part. I also learned how to take my file from inventor and bring it over to the 3D printer using a software called MakerBot. In MakerBot we learned that we could find how much material the print was going to expend and how long the print was going to take. Overall it was a fun unit that we learned a lot in.
